
Welcome back to the Cyber Range and Homelab series! In our last post, we laid the critical network foundation, segmenting our lab into distinct, firewalled VLANs using pfSense. Now that the digital highways are paved and the barriers are in place, it’s time to build the command center—the security operations hub that will live on VLAN 1.
This is where we move from infrastructure to intelligence. We’ll deploy a suite of open-source and industry-standard tools that will allow us to monitor our targets, manage incidents, and launch controlled attacks. This is the heart of our purple team environment.
You can’t defend what you can’t see. This post details the brain of my cyber range: a dedicated VLAN for security monitoring with Wazuh, incident management with The Hive, and network analysis with Security Onion.
The Purpose of VLAN 1: Command and Control
As we established, VLAN 1 (192.168.1.0/24) is our most trusted and privileged network. It has firewall rules that grant it access to all other VLANs (VLAN 10, 20, and 30) and the internet. This unique position makes it the perfect home for our security operations toolkit. From here, we will:
- Monitor Endpoints: Keep an eye on file changes, logs, and processes on our target machines.
- Analyze Network Traffic: Watch for suspicious connections and data flows between VLANs.
- Manage Incidents: Create a structured workflow for investigating and responding to alerts.
- Hunt for Vulnerabilities: Proactively scan our lab for weaknesses before we try to exploit them.
- Simulate Threats: Launch attacks from a controlled and monitored position to test our defenses.
Let’s dive into the specific tools that make this all possible.
Tool-by-Tool Breakdown: The Security Arsenal of VLAN 1
Wazuh: The Endpoint Guardian (HIDS)
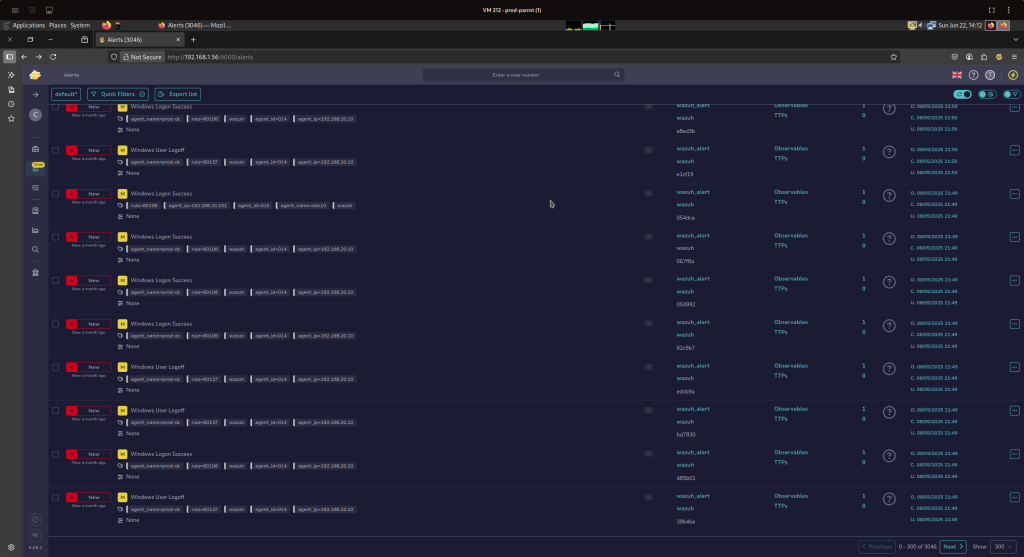
Wazuh is an open-source security platform that functions as a powerful Host-based Intrusion Detection System (HIDS). It provides deep visibility directly on the operating system of our target machines. For this lab, I deployed the Wazuh server on VLAN 1 and installed Wazuh agents on key VMs, including:
- Our Pfsense firewall
- The Windows Server Domain Controller, Windows 10 client and Ubuntu Joined to Active Directory in VLAN 20.
- The Ubuntu Docker host in VLAN 30.
- Parrot OS
These agents feed a constant stream of security data back to the central server, allowing us to monitor for file integrity changes, log anomalies, rootkits, and policy violations from a single dashboard.

The Hive: The Incident Response Platform
When Wazuh or Security Onion generates an alert, what happens next? That’s where The Hive comes in. It’s an open-source Security Incident Response Platform (SIRP) that turns a flood of alerts into a structured investigation. We can create cases, add observables (like IPs and file hashes), assign tasks, and document our entire response process. It’s the digital notebook for our security team.
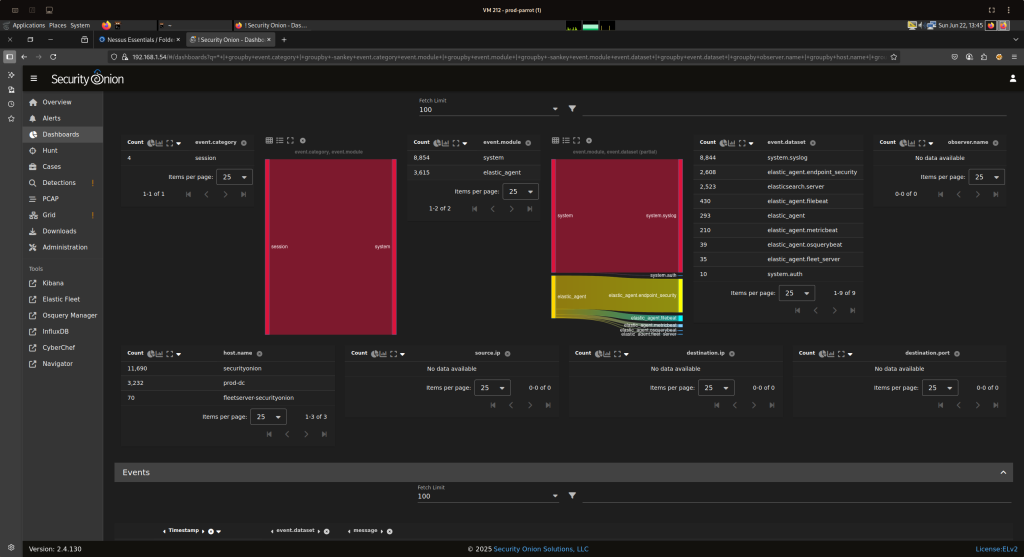
Security Onion: The Network Watchtower (NIDS)
While Wazuh watches the hosts, Security Onion watches the network. It’s a comprehensive Network Intrusion Detection System (NIDS) that ingests a full packet capture of all traffic flowing through our pfSense firewall. By analyzing this traffic with tools like Suricata and Zeek, Security Onion can detect threats like port scans, exploit attempts, and command-and-control (C2) communications that might otherwise go unnoticed.
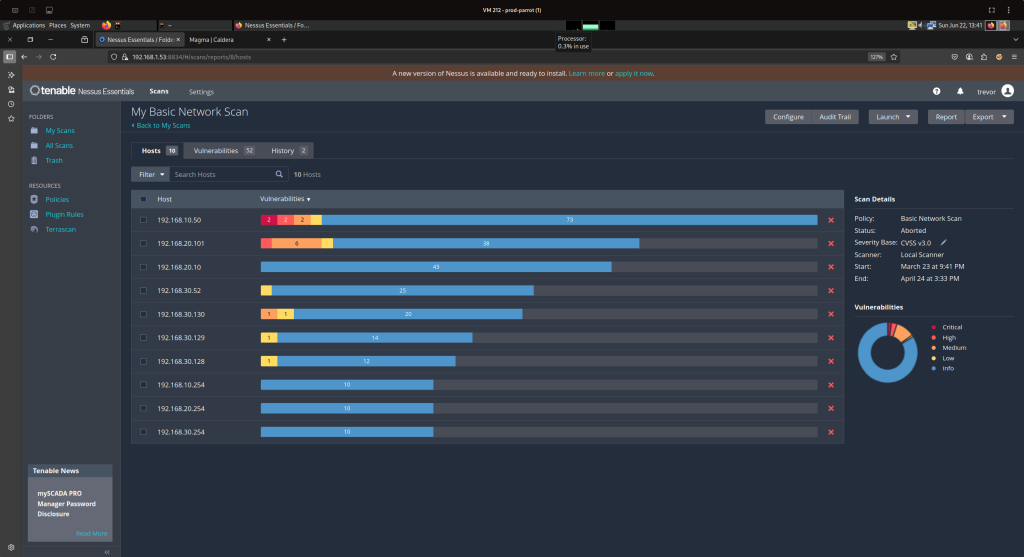
Nessus: The Vulnerability Hunter
A core part of any security program is proactive defense. Nessus is our vulnerability scanning platform. From VLAN 1, we can launch authenticated and unauthenticated scans against all our target networks to discover open ports, outdated software, and dangerous misconfigurations. This gives us an attacker’s-eye view of our lab, allowing us to see the very same weaknesses a real threat actor would look for.
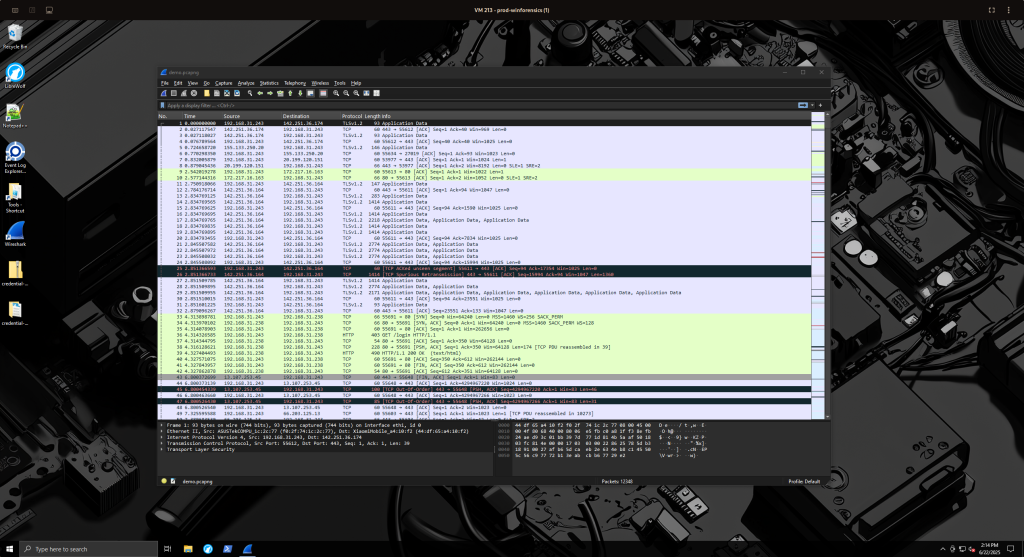
Forensic VM: The Digital Crime Lab
When an incident requires a hands-on investigation of malware or a compromised disk image, we need a sterile environment. My Forensic VM is a dedicated Windows 10 machine on VLAN 1, equipped with a suite of forensic tools like Autopsy, FTK Imager, and Volatility. Keeping this separate from our other machines ensures that our analysis doesn’t contaminate evidence or accidentally trigger malicious code on a networked system.
Parrot OS & Mitre Caldera: The “Red Team” Command & Control
Finally, to truly test our defenses, we need to simulate attacks. VLAN 1 hosts our primary attack infrastructure.
- Parrot OS: This is my go-to machine for manual penetration testing. From here, I launch tools like Nmap, Metasploit, and custom scripts. A key feature of my Proxmox host is GPU Pass-through, which allows the Parrot OS VM to directly access the host’s physical graphics card. This provides a massive performance boost for tasks like password cracking with Hashcat.
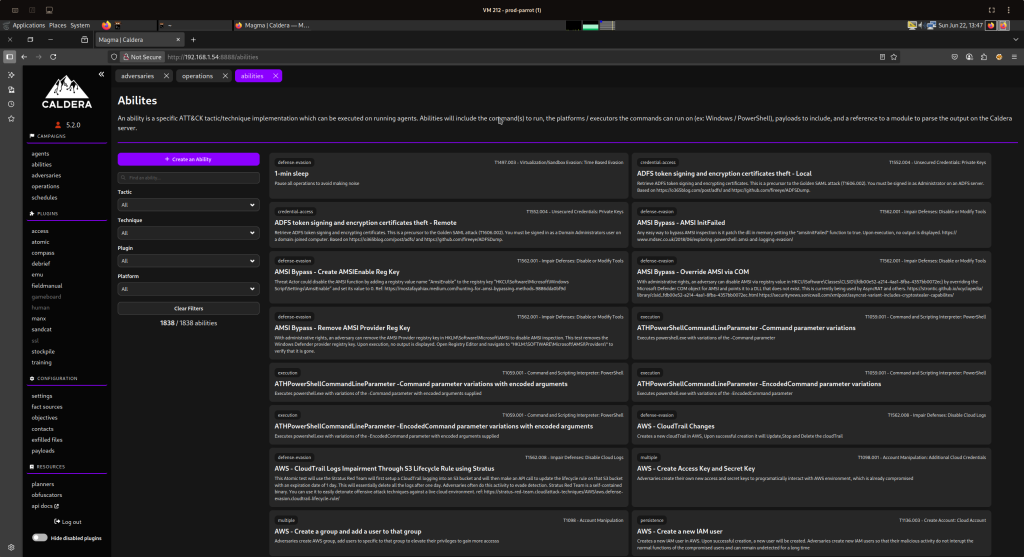
- Mitre Caldera: For more sophisticated and automated testing, I use Caldera. This adversary emulation platform allows me to deploy agents to target machines and execute attack campaigns based on the MITRE ATT&CK framework. It’s perfect for testing our defensive alerts and response playbooks against realistic threat actor TTPs (Tactics, Techniques, and Procedures).
With VLAN 1 now fully operational, our lab has its brain. We have the visibility to see what’s happening, the tools to respond, and the platforms to simulate realistic threats. In our upcoming posts, we will dive into building out the Active Directory environment in VLAN 20 and finally, launch our first end-to-end attack simulation, watching our entire security ecosystem light up.